What a great idea! Thanks for posting it, Elizabeth. You post the greatest ideas!
Guess what? I found this website that originally posted this one. And the instructions are so much better there. For one thing, you want to bake it on parchment or grease-free paper so it doesn’t stick.
She shows step by step pictures, and it is so much clearer.
Find it here: http://www.theimaginationtree.com/2011/06/salt-dough-footprint-keepsakes.html
To make it easy for you, I will copy her post below mine, but be sure to stop by her blog, too okay? She did the work.
Have a super fun time with your kiddos and I think now you will be so happy with the results.

recipe for baby footprint step stones
Can’t you just see Lucy’s little guy’s feet prints in a stone like this? Lucy’s link is in my blogroll, but she is famous the world over, so I doubt you need to know that!
The consensus of responses to this post was that 200 is probably Farenheit, since you are just drying it out, and don’t want to burn it.
One woman responding to the original link said she has taken her son to a local ceramic place every year on his birthday. They get a stone sized piece and she does a hand print in it, then they do one of his inside of hers. What a sweet idea. She says it is her favorite part of his day every year.
I love the idea in the recipe above, too! And, if you have more than one child, you can have them labeled for what age they are and have a path very quickly!
Have you done this before?
It’s an easy-peazy parent/child project for Olympics, don’t you think?
Please do check out her website. She has so many wonderful ideas and creative things for kids and parents to do together.
~~~~~~~~~~~~~~~~~~~~~~~~~~~~~~~~~~~~~~~~~~~~~~~~~~~~~~~~~~~
Reblog from: http://www.theimaginationtree.com/2011/06/salt-dough-footprint-keepsakes.html
WEDNESDAY, 15 JUNE 2011
Salt Dough Footprint Keepsakes
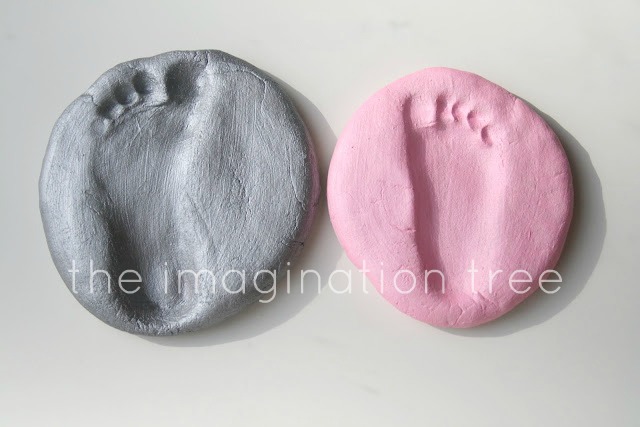
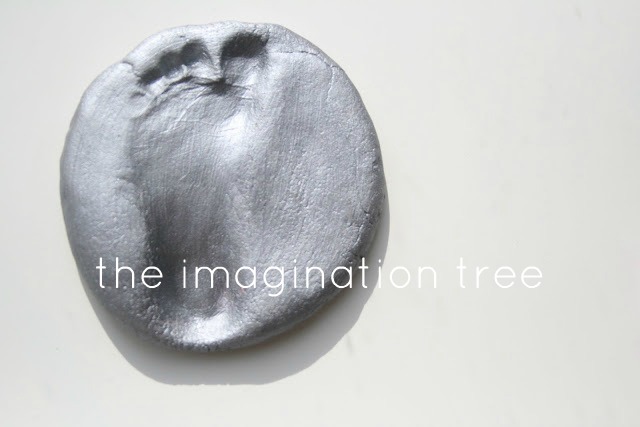
These little footprints were very easy and very cheap to make and will make perfect keepsake gifts for daddy this Father’s day!
Salt dough recipe:
1 cup salt
1 cup plain flour
Half a cup of warm water
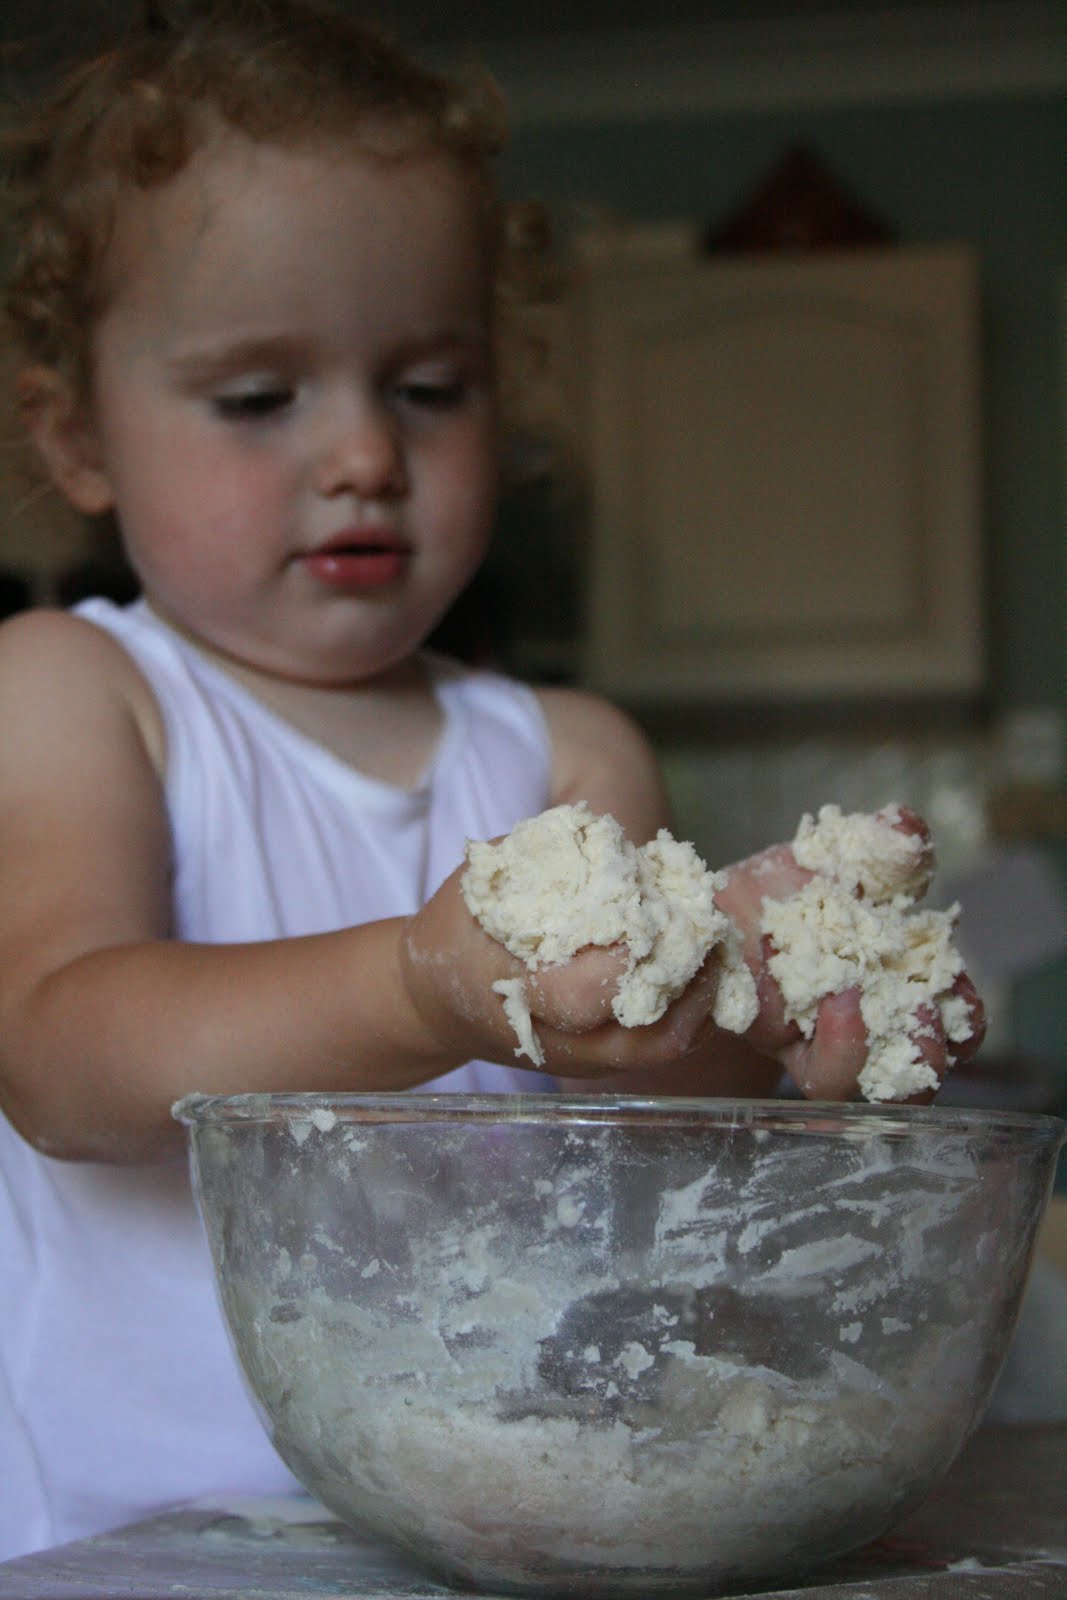
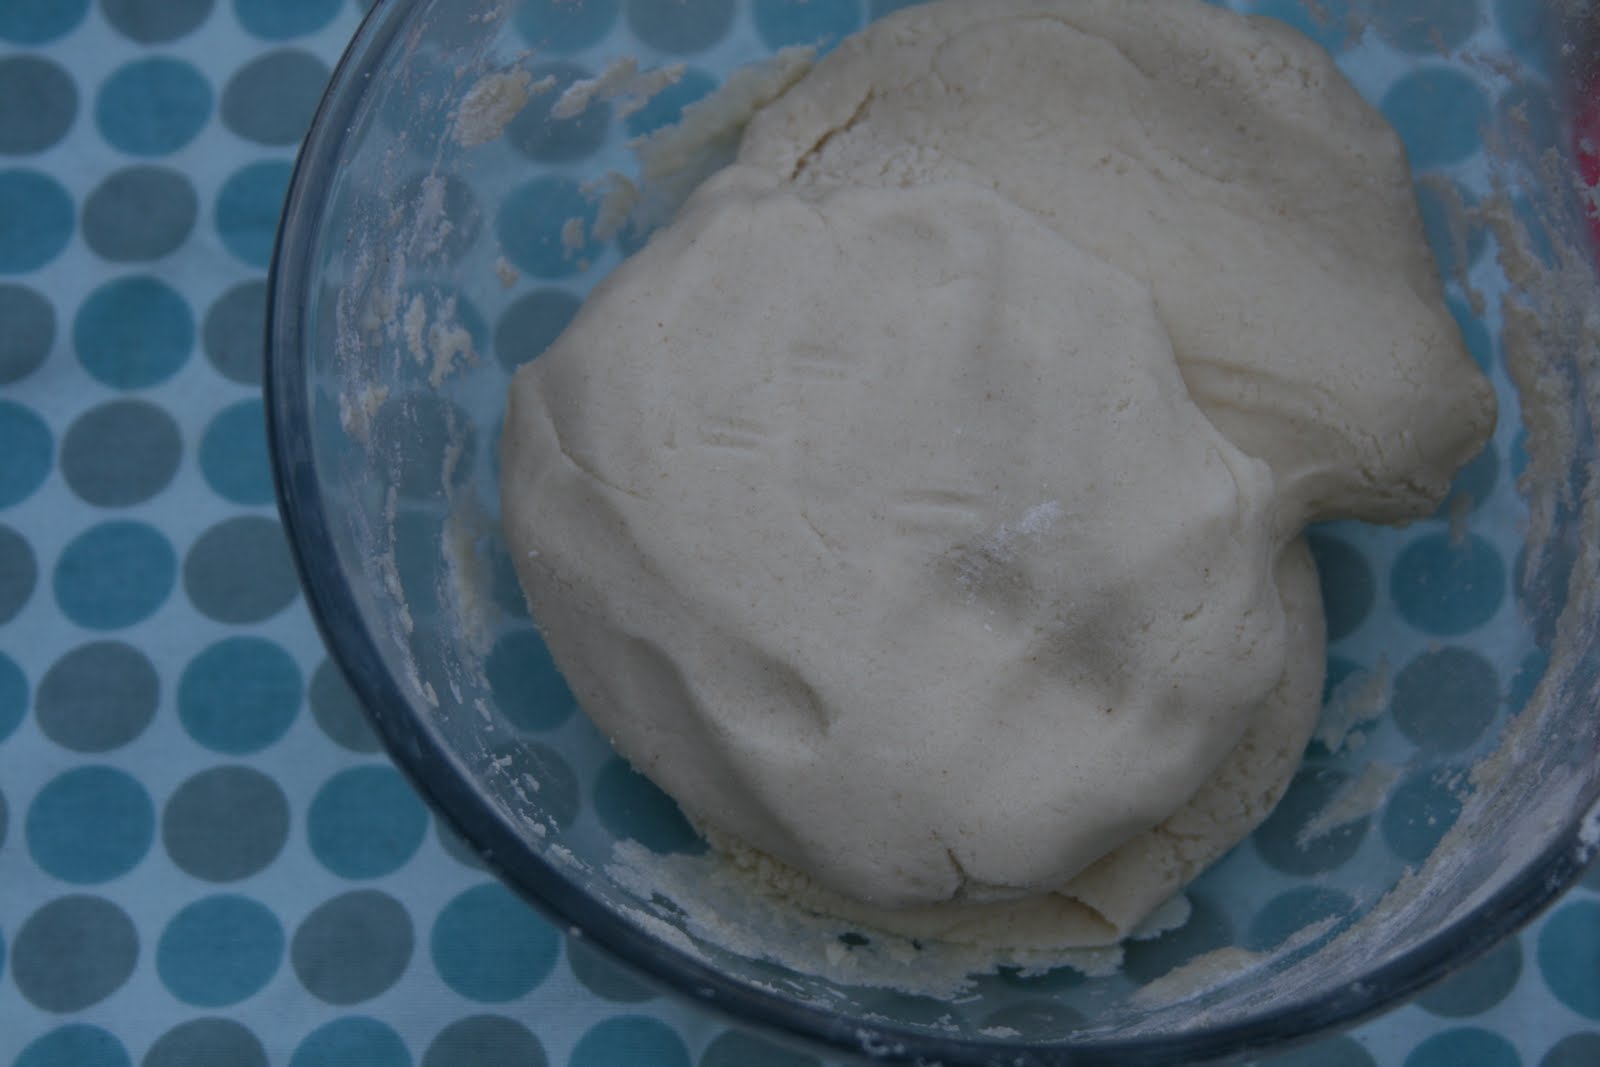
Mix together into a large bowl and knead it until smooth and stretchy. This last part is important otherwise the dough remains sticky and quite granular from the salt. If it is still too sticky add a bit more flour, if too dry and crumbly then add a tiny touch more water. A little bit of trial and error is all that is needed and it really is so easy!
Cakie loves the making and mixing part of creating play dough and salt dough and it is a fabulous messy, sensory play experience in its own right, as well as being great for measuring, counting and strengthening those all important hand muscles too!
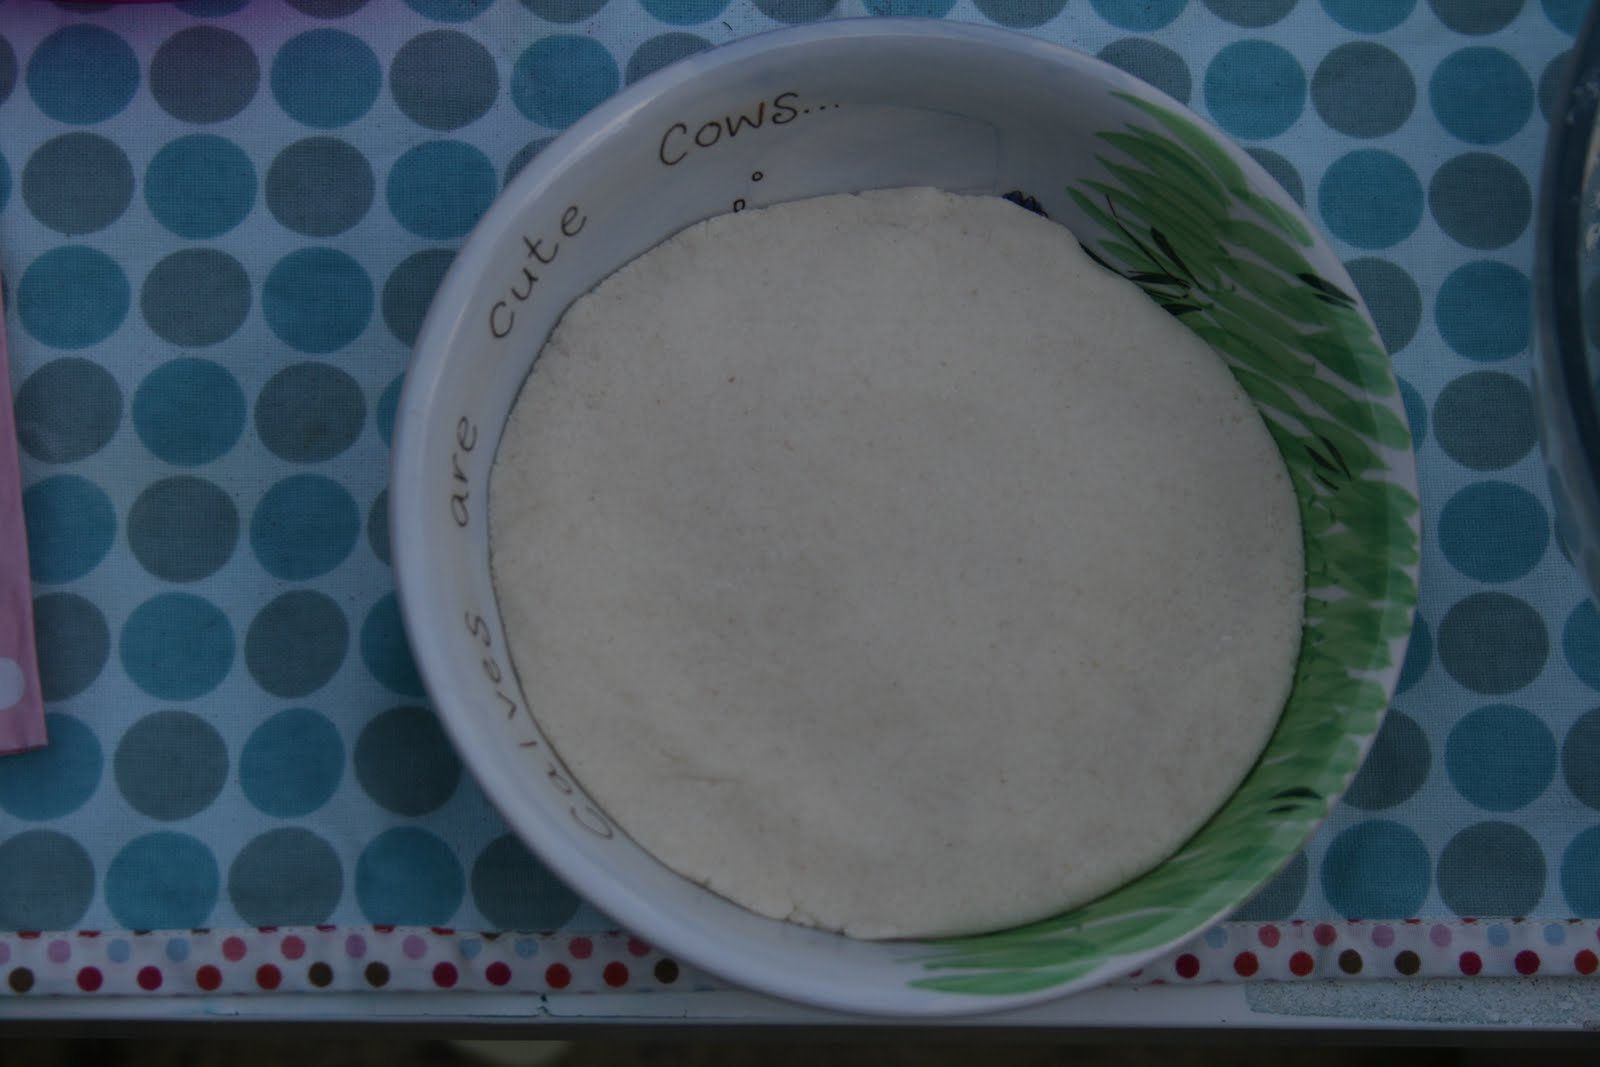
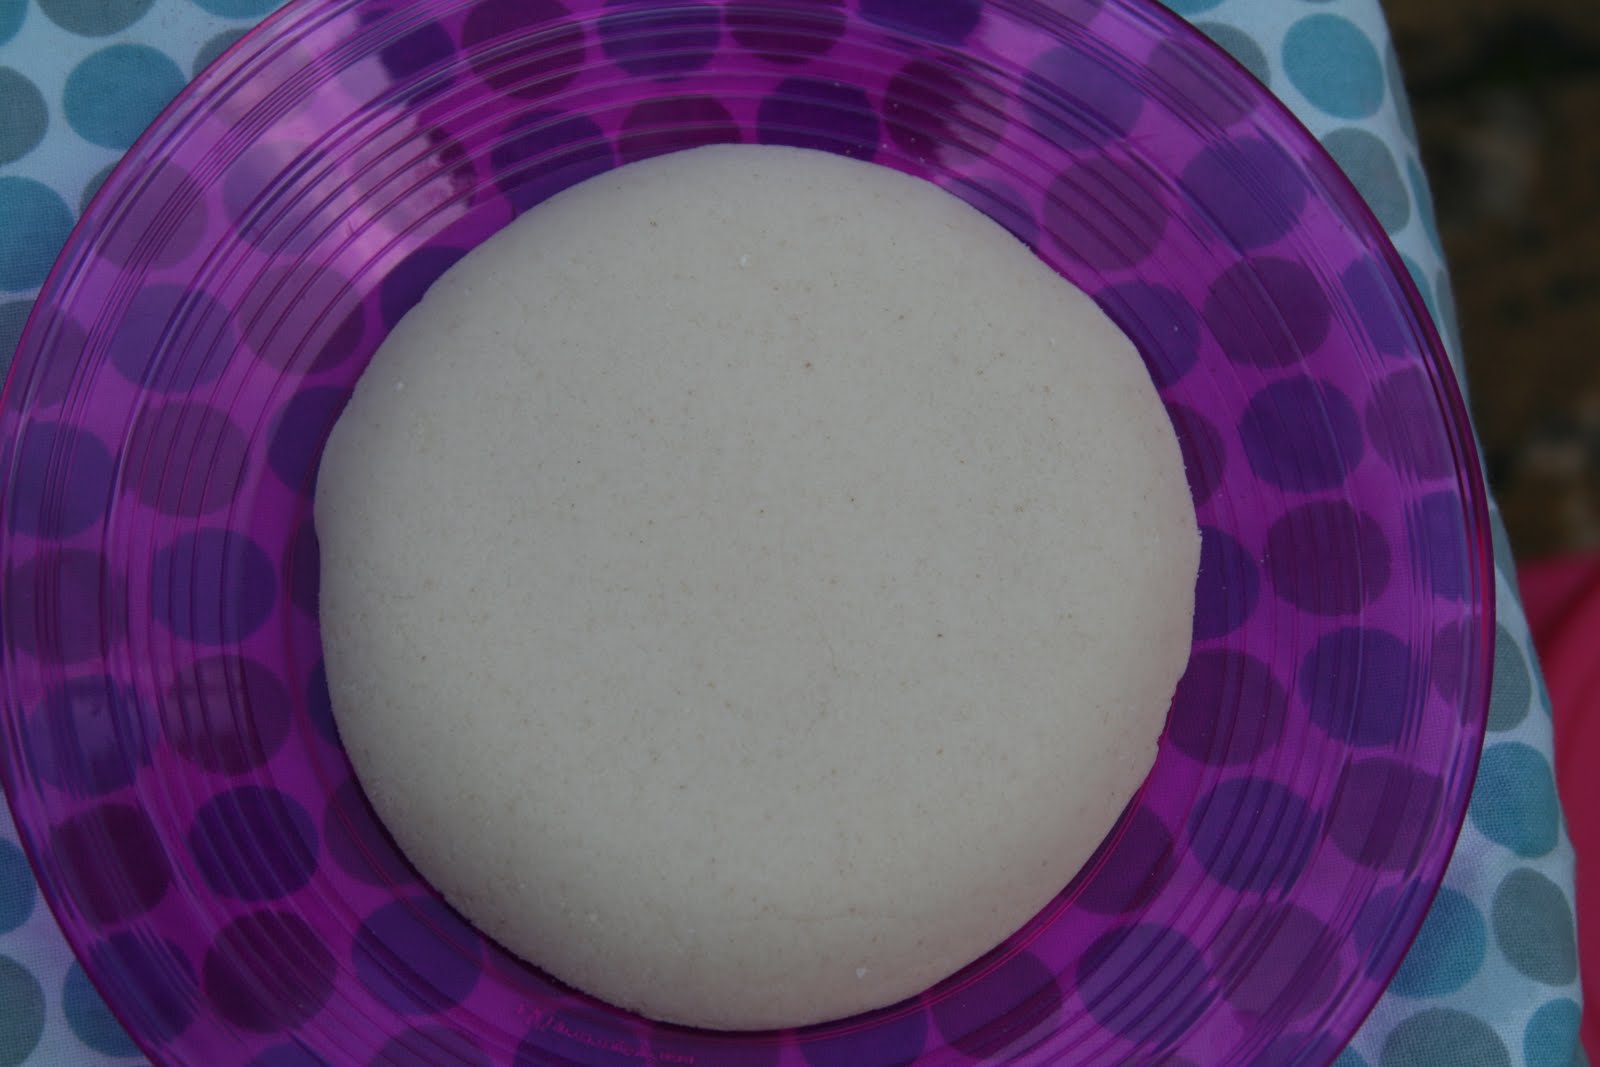
Once the dough was kneaded I divided it into equal parts and found a shallow bowl that was big enough to accommodate the full length of both girls’ feet. I then squished one part into the bowl and flattened it around to the edges.
I then teased it away from the edges slightly and flipped it out onto a plate. The underside was very smooth with a lovely finish, perfect as a canvas for the footprints!
I then got the girls to tread one foot into the middle of their dough plaques, one at a time (and I had a lovely friend help me too as I took this photo!) With baby Pop we had to make sure she didn’t wriggle or turn her foot to the side as that warps the shape of the print. A firm straight down impression and then lift straight off again works really well. If it gets messed up, the great thing is that you can reform it and try again!
The plaques then went into the oven for 3 hours at 100 degrees C (around 200 degrees F). They need to be placed on baking parchment or greaseproof paper so that they don’t stick. It needs to be on a very low heat for a length of time to thoroughly dry out and harden. If the oven is too hot they will rise and “cook”. The thinner the dough and the lower the temperature, the better these will turn out! If they are still doughy in the centre after 3 hours then turn them over and put them back in for another 2 hours.
If you want to hang yours on the wall then you need to add a hole with a straw before it goes in the oven. I didn’t do that with ours this time as I thought they may be a bit too heavy for hanging.
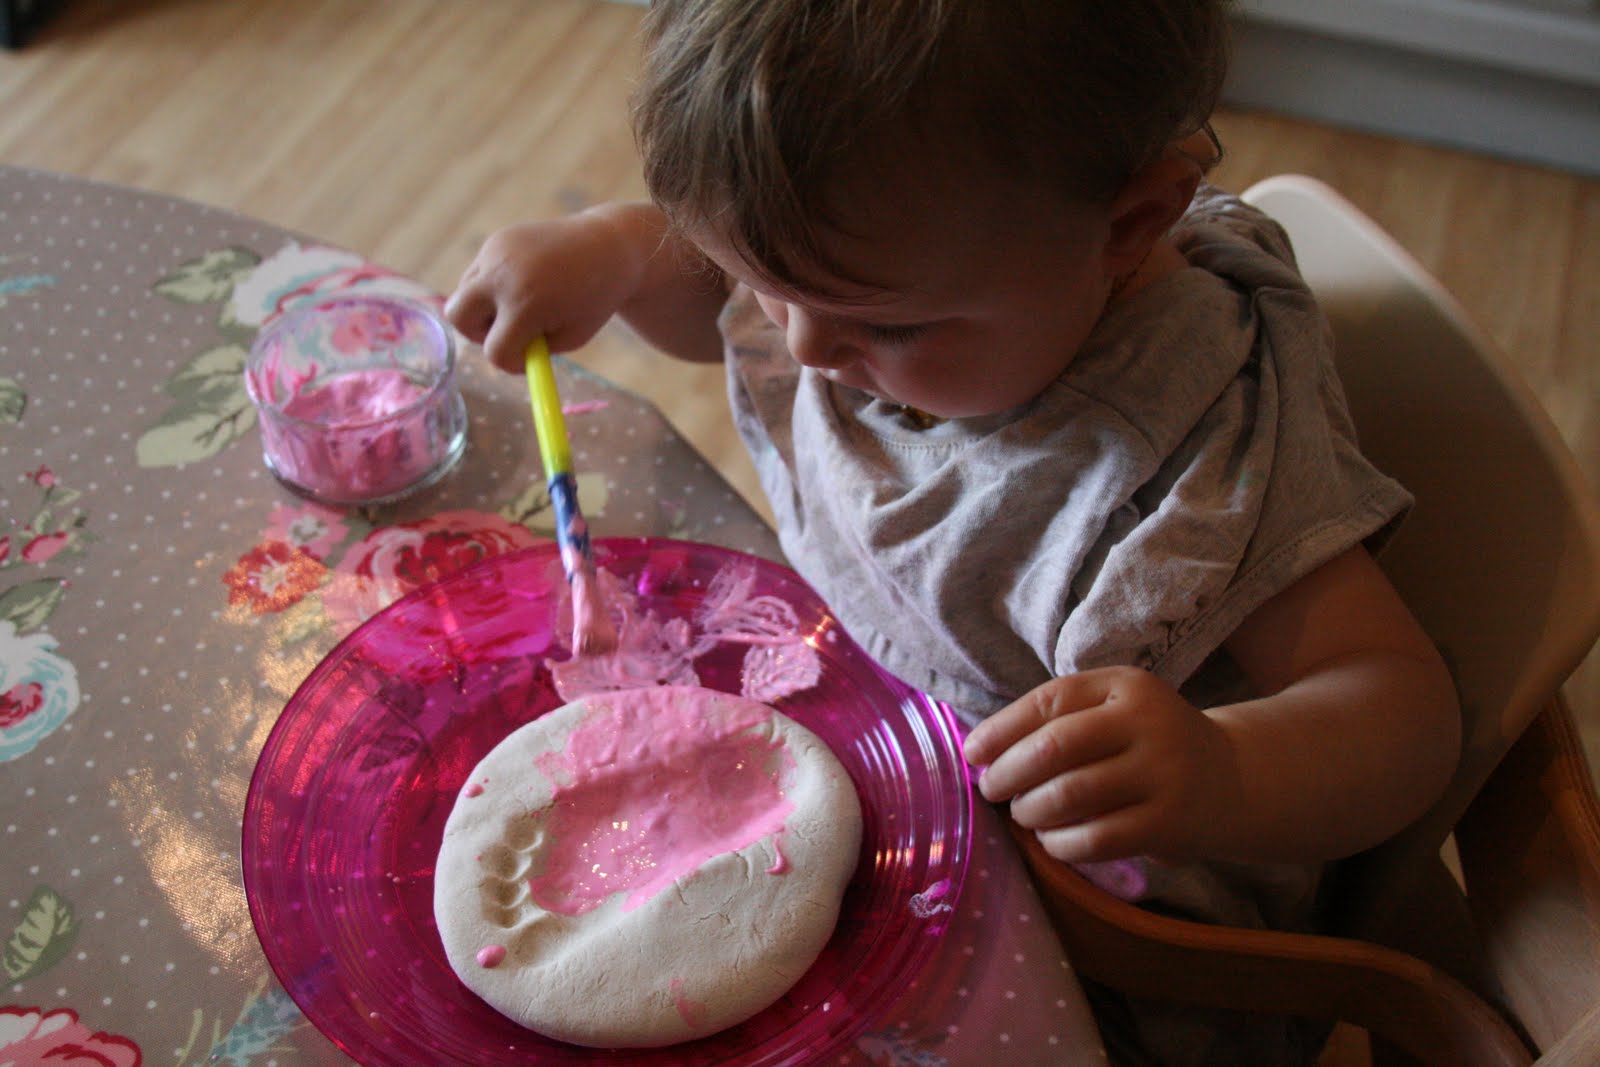
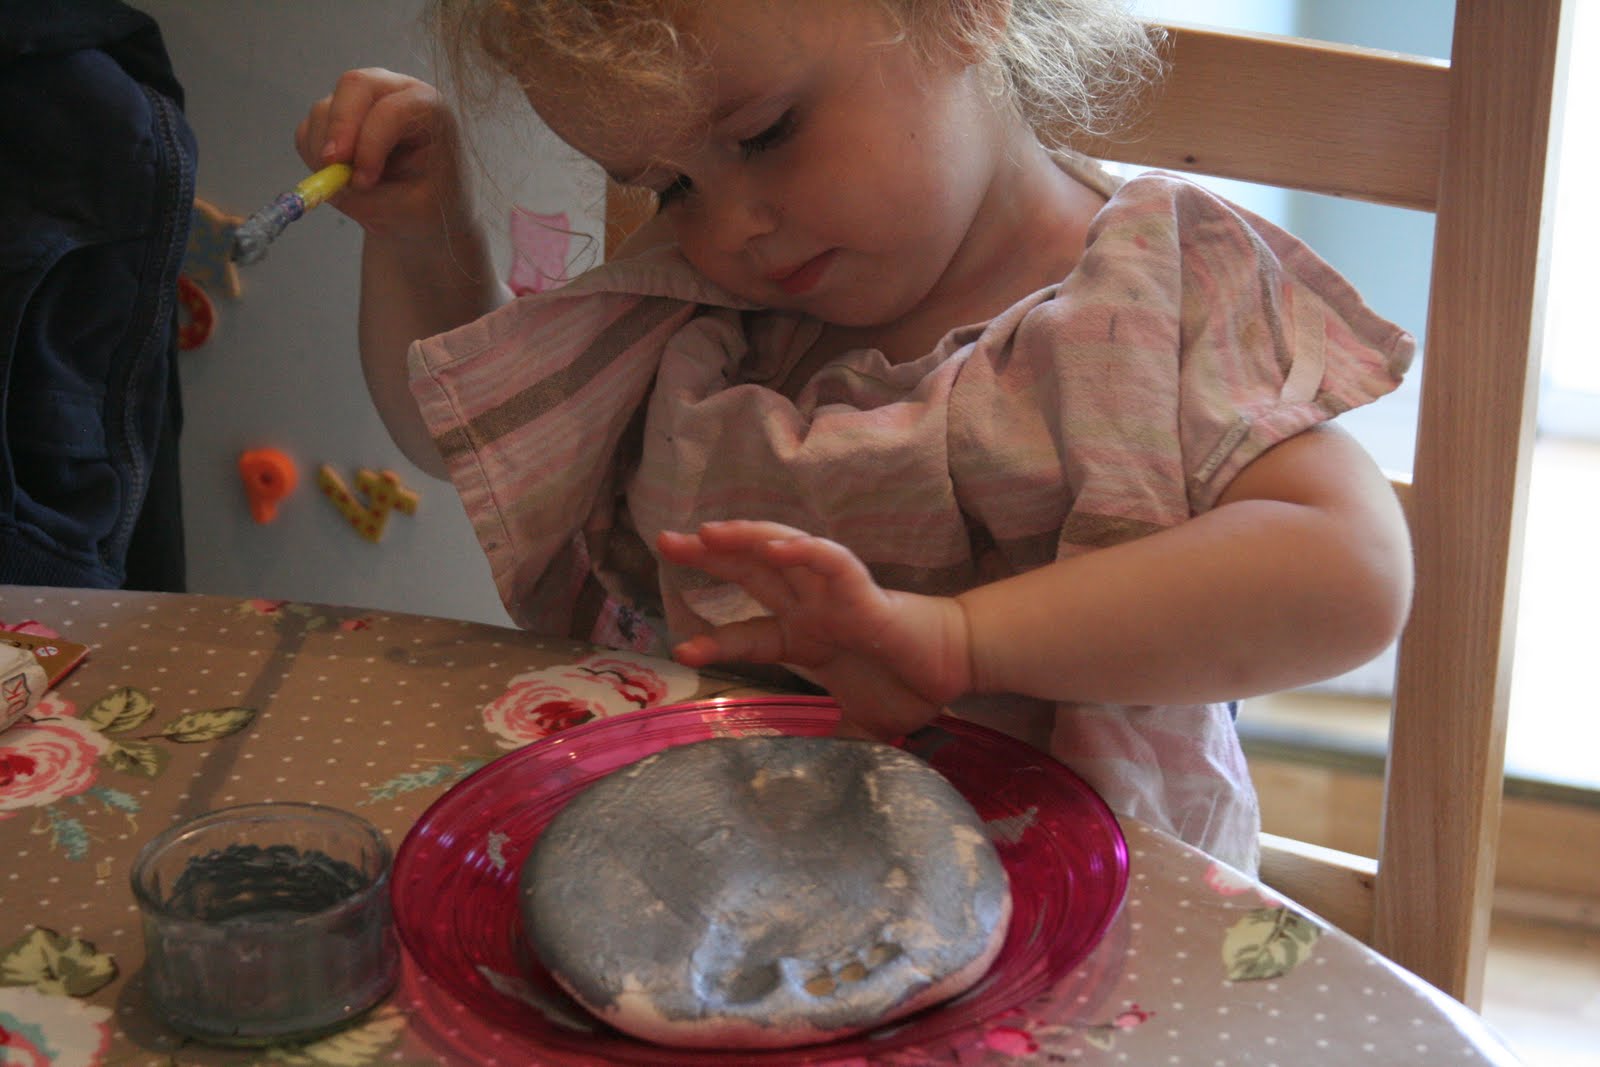
The next day the girls then painted them using pearlised acrylic paints (we get ours super cheap in The Works) and we left them to dry for a couple of hours.

They love the painting process!
That’s it! Truly very quick and easy!

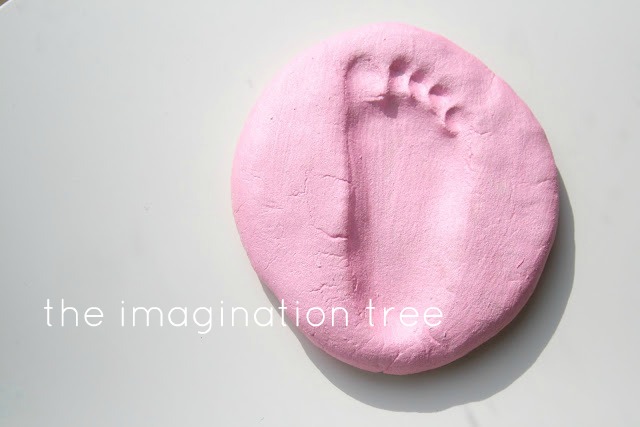
And here are the finished gifts for Daddy! I have written their names, ages and dates on the back with a Sharpie permanent marker. I intend for these to simply be displayed rather than have a practical purpose, but you could of course use them as paper weights, or thread ribbon through to hang them on the wall. I hope ours will last a very long time. They will be treasured alongside the
salt dough handprints we made last year, which now look so tiny in comparison!
This activity is good for:
- Sensory: messy and tactile exploration
- Motor skills: kneading/ squishing/ rolling/ flattening/ poking/ squeezing/ treading
- Maths: weighing quantities/ counting/ capacity (full, empty)
- PHSE: working independently
- Creativity: painting/ modelling/ sculpting


Such a unique idea! If I had a spot to put it, I would do one with each of the granddarlings. :)
By: binkysbaubles on July 28, 2012
at 10:48 am
I was hoping you would!!! It would be so sweet with all of their sizes and ages represented.
It would represent the stepping stones of growth and aging as well as being stepping stones.
I bet’cha Derf could think of how to arrange them!
By: shelleyjomoozings on July 28, 2012
at 12:00 pm
… [Trackback]…
[…] Read More here: shelleyjomoozings.wordpress.com/2012/07/28/foot-prints-and-stepping-stones-recipe/ […]…
By: URL on July 31, 2012
at 5:47 pm
… [Trackback]…
[…] Read More here: shelleyjomoozings.wordpress.com/2012/07/28/foot-prints-and-stepping-stones-recipe/ […]…
By: Homepage on August 6, 2012
at 6:20 am
… [Trackback]…
[…] Read More Infos here: shelleyjomoozings.wordpress.com/2012/07/28/foot-prints-and-stepping-stones-recipe/ […]…
By: How to get High PR Backlinks on August 10, 2012
at 10:17 pm
So what does everyone bake them on?? Idk….all I do know is it definitely makes a sweet stone with your babies footprint but it also doesn’t come out
By: Kjmomma on August 31, 2012
at 2:04 am
*all I know is it doesn’t come out of the bread pan I put the dough mixture ;-) so I was jw how everyone bakes their dough hahaha thanks for help:)
By: Kjmomma on August 31, 2012
at 2:05 am
This is an awesome idea!! Thanks. Great craft for kids and for gardens and walkways!
By: fruitonthefrontline on August 31, 2012
at 1:36 pm
I tried it last night and it turned out adorable! But I had to throw it away because I couldn’t get it out of the pie dish I baked it in. My husband got it out, but in the process, the heel imprint of my sons foot broke =(
Anyone have any pointers on how to bake it and easily take it out of the dish it is baked in? I thought maybe parchment paper (can you even put that in the oven?), then I thought spraying the bottom of the dish with Pam (but would that ruin or have an alternate effect on the stone?), then I thought maybe foil (but would I even be able to get it off the foil?). Please, any insight is appreciated as I would like to do this again in the immediate future. Thanks!
By: Kristin on November 26, 2012
at 7:27 pm
Guess what? I searched for any website that had solved this issue and found a great site! It has step by step instructions that are so much better than any I have seen.
Parchment paper or grease-free paper.
Go and look here! :)
http://www.theimaginationtree.com/2011/06/salt-dough-footprint-keepsakes.html
By: shelleyjomoozings on November 27, 2012
at 1:50 am
Ahhh! Thank you SOOOOO much! I will definitely be trying this tonight when I get home from work (hopefully my lil bambino will still be awake). I am embarrassed to even say this, but I’ve never used Parchment paper before and didn’t even know what it was for until now. We will certainly be using that this time around!
By: Kristin on November 27, 2012
at 2:16 am
No worries, Kristin.
I am nearly 55 and I seem to learn something I should have known long ago daily.
I love parchment paper, by the way. It is great for cookies, and for all kinds of non-baking fun as well.
I am so glad you are enjoying this project. I like to do more than ramble about me on my blog. I like to post something that makes people adventurous and happy. Here’s to your next attempt, and please let us know how it went, okay?
By: shelleyjomoozings on November 27, 2012
at 1:01 pm
Oh, and Kristin, I am so sorry you had to throw it away. :(
I wish I had known this issue earlier so I could have solved it before it happend.
Thanks so much for letting me know!
By: shelleyjomoozings on November 27, 2012
at 1:51 am
cook it in a foil plate
By: jess on January 30, 2013
at 6:53 am
Hi Shelleyjo, I tried it again and the parchment works so beautifully. I probably should have cooked it a little longer because the very bottom doesn’t feel done, but overall it is fabulous. I can’t wait to do it with my other two kids! I’d love to post a picture to show you but I don’t know how.
By: Kristin on November 29, 2012
at 6:18 pm
Kristin,
Thanks so much for sharing with me how it went for you. Your comments can help others along the way.
If you can download your picture into your computer, then you click on the little camera icon that is on the new blog page, above where you type. You click on that, and it will let you upload the picture. You can give us a link to that page. I don’t know if you can just copy and paste it into the comments or not. It would be great if you could.
By: shelleyjomoozings on November 30, 2012
at 2:58 pm
file:///C:/Documents%20and%20Settings/schroederk/My%20Documents/My%20Pictures/Kids/IMG_0206.jpg
I’m not sure if this picture will upload…this was the only way I could attempt it.
I used the recipe you provided and baked it at 200 for 3 hours. I ended up flipping it over after and baked it for another 1-2 hours because the bottom wasn’t done. Next time I will use a roller to smooth out the surface before imprinting it. =)
By: Kristin on November 30, 2012
at 8:30 pm
Nope, didn’t work…darn.
By: Kristin on November 30, 2012
at 8:31 pm
I am thinking of having my boys make this for Grandma and Grandpa’s Christmas presents and I am wondering about using food coloring instead of paint to color the prints… do you think the color would show up?
By: Holly on December 5, 2012
at 6:17 am
Holly,
I haven’t read any comments of people having tried food coloring with this yet.
If you do, let me know how it goes, okay?
By: shelleyjomoozings on December 5, 2012
at 9:21 am
The great thing about this craft is it’s okay if it doesn’t turn out because it’s so easy to do it over. I would maybe suggest making two batches at the same time and then just use the food coloring on one of them. If it doesn’t turn out, then you will at least have a backup already done. If it does, then great! You can keep one for yourself ;) Good luck!
By: Kristin on December 5, 2012
at 6:17 pm
Thanks, Kristin!
I was also wondering how it would work if you pressed the two colors together in the Santa colors, then had the little one press in the hand print. Don’t know if it will break apart or not.
By: shelleyjomoozings on December 6, 2012
at 9:22 am
I used food coloring after I kneaded it and kneaded again to make my swirls in it and it turned awesome.
By: misty on March 21, 2014
at 9:00 am
Awesome! Thanks for sharing, Misty.
By: shelleyjomoozings on March 28, 2014
at 4:42 pm
Hmmmm, I bet it would look adorable though =)
I wish we could post pictures because I think it would be so great to see other people’s attempts and creative alterations.
By: Kristin on December 6, 2012
at 7:20 pm
I do, too.
I must ask a young friend of mine how to do that. I bet she would know, or some kiddo she knows.
If I find out anything about posting results, I will let you know.
By: shelleyjomoozings on December 7, 2012
at 1:14 pm
Did it 4 times with feet, hands, flowers, drawing different pictures with 8 grandkids. used both- craft acrylic paints and food coloring. Both cooked well, a real kid pleaser. They all want to do it again. Ages 5 to 14.
By: jess on January 30, 2013
at 7:02 am
I am so happy that all went well, Jess. I am very pleased that the kids enjoyed it so much. Sounds to me like you all were very creative and had a great time! Thanks for sharing with us!
By: shelleyjomoozings on May 1, 2013
at 9:39 am
i did this and the bottom came out a lil doughy
By: Audriana Marie Reeve on April 25, 2013
at 12:35 am
I am sorry that it came out doughy on the bottom. My friend’s turned out fine, so I am not sure what to recommend. Perhaps low temperature for longer time?
By: shelleyjomoozings on May 1, 2013
at 9:25 am
do i paint them before or after i cook them
By: Audriana Marie Reeve on April 25, 2013
at 12:36 am
You paint them after you bake them. A friend of mine had breat success with puffy paint for the black.
By: shelleyjomoozings on May 1, 2013
at 9:24 am
We do not have an oven at school…if we made them in class and I brought them home and baked them 4 hours later do you think they’d still work?
By: Kristy on April 29, 2013
at 3:46 am
Yes, I do think it would work. A friend of mine did hers at home after her girl scout troop had made them together in another location. They turned out great!
By: shelleyjomoozings on May 1, 2013
at 9:24 am
Just a quick question… Since the ingredients are just flour, salt and water, if you put them outside as stepping stones how would you make them weather proof?? Any ideas??
By: Cassandra on May 4, 2013
at 6:24 am
You need to seal them with laquer of some kind. You need to do that anyway, as they will eventually get bugs in them if you don’t.
By: shelleyjomoozings on August 5, 2013
at 2:26 pm
Is it ok to use these in a garden or will they dissolve? Once they are hardened are they as good as cement? Cause that’s amazing.
By: cloudtripper on May 10, 2013
at 7:02 pm
i have mine in the oven now on 100 fan oven is that ok and are thick. been in nearly 2hrs.x
By: lucy senior on May 11, 2013
at 5:05 pm
Can you use decor gems? I wasn’t sure if they could be put in the oven.
By: Amber on May 13, 2013
at 9:38 pm
I am not sure. I have never tried it. I am thinking if they are glass and you use low enough oven temps it should be fine.
I want to try it soon, then will get back to you all.
By: shelleyjomoozings on August 22, 2013
at 1:00 pm
How do these fair outside in the weather if you would use them as a walking path or in a garden?
By: Regan on May 24, 2013
at 9:16 pm
They would do fine outdoors as long as sealed thoroughly on every surface. I would do more than one layer of sealant and dry completely in between each layer.
By: shelleyjomoozings on August 22, 2013
at 12:59 pm
Has anyone ever tried to make a mosaic stepping stone out of this and use marbles?
By: ang on June 5, 2013
at 11:18 pm
Can you put these outdoors in a garden if sealed?
By: Dawn on June 16, 2013
at 4:08 am
Yes, if sealed all around on every surface. I would personally seal it with several layers.
By: shelleyjomoozings on August 22, 2013
at 12:58 pm
I put foot coloring in mine prior to baking. Cane out great!!! But to use as a stepping stone….. How will it be if it gets wet? It will turn into dough again I would assume right?
By: Ally on June 24, 2013
at 7:57 pm
Ally,
I did replay to this earlier. I don’t know why it disappeared.
You must spray or brush on a sealant varnish type of substance or it will be ruined. Bugs will eat any dough ornamentation if not sealed or shelaqued.
By: shelleyjomoozings on August 22, 2013
at 12:57 pm
We are going to use this recepie to make a volcano instead of the traditional paper mâché and bicarbonate vinegar ones, the footprints look so cute though, will probably do both. what a great keepsake :)
By: Heather on July 16, 2014
at 6:16 pm